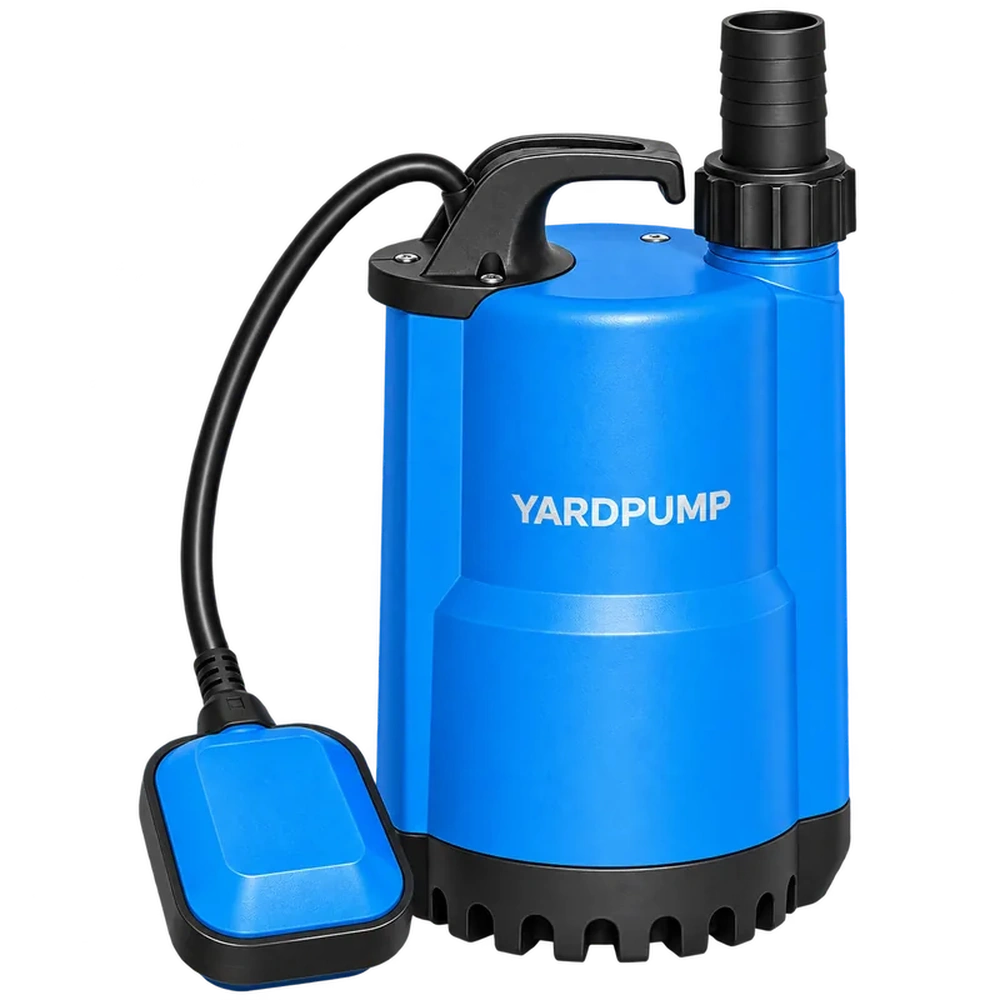
A returned drainage pump has a broken shaft. The first explanation is “a stone jammed the impeller and overloaded it.” That may be one possibility, but the broken shaft alone does not prove it. Preserve both fracture surfaces and examine operating, assembly and material evidence before deciding whether the event involved fatigue, a sudden overload or interacting causes.
The last break may not be the beginning
A shaft can contain a crack that grows under repeated loading before the remaining section finally separates. In another case, a single excessive event may dominate. Bending, torsion, stress concentrations, corrosion and material condition can contribute in different combinations. The final separation records the end of the process, not necessarily its initiating cause.
Visible regions or markings may suggest a direction for analysis, but a phone photograph cannot reliably establish stress history, alloy condition or the source of a crack. Do not assign a universal appearance to “jam damage.” A qualified failure analyst may need magnification, dimensional checks and material examination to distinguish the mechanisms.
Preserve the surfaces before handling
Isolate the pump and have competent personnel dismantle it safely. Keep the two broken pieces identified with the unit and their original orientation. Protect the fracture faces from rubbing together, grinding, rust removal or aggressive cleaning. Package them so handling does not add new marks or contamination.
Photograph the whole assembly and adjacent components before removing them. Retain the impeller, fastening, bearings and any actual trapped object. A loose stone found later in a dirty sump is not automatically the object that caused the break. Record precisely where and when evidence was found, including whether parts moved during retrieval.
Reconstruct the load path
Check shaft seats, shoulders, keyways or other geometric transitions relevant to the design. Inspect alignment, bearing support, interference, assembly marks and signs of rubbing. A jam can load the shaft, but misalignment or a support defect can also produce repeated bending. The investigation should account for the entire rotating assembly.
For an illustrative examination plan, place observations in separate columns: fracture location, nearby geometry, material evidence, actual obstruction and operating history. A crack starting near a feature is a reason to examine stress and manufacture there; it is not immediate proof that the feature was wrongly designed. Keep alternative explanations open until the evidence distinguishes them.
Connect service data without treating it as a verdict
Obtain the electrical and control history where available: unusual starts, thermal trips, blocked delivery, reverse movement or prolonged noise. Confirm the liquid and solids actually handled, installation orientation and any previous repair. A protective trip can be relevant but cannot timestamp the first microscopic crack.
Do not straighten, weld or return a fractured shaft to service through an improvised repair. Damage to bearings, seals and the impeller can remain after the visible broken part is replaced. The responsible manufacturer should define the replacement and required verification, and any containment of similar stock should be evidence-based.
For YARDPUMP dirty-water service, use this process to preserve a fair and technically useful RMA record. It does not claim a known failure rate or a particular cause for any model. The valuable decision is whether the evidence supports an installation correction, component replacement, material investigation or design review, rather than assigning blame from the word “broken.”
Where several returned units are compared, keep each shaft and associated parts separate. Combining the clearest fracture photograph from one unit with a trapped object from another creates a false case. A common symptom can have different causes, and a common cause can leave different final damage. Use the individual evidence first, then assess whether the cases support a shared process or installation action.
Frequently asked questions
Can a fracture photo prove fatigue?
It can guide investigation, but a reliable conclusion may require examination and supporting load and material evidence.
Should the pieces be cleaned before shipping?
Follow the analyst's preservation and contamination instructions. Do not abrade or alter the fracture faces.
If a stone is present, is the cause settled?
No. Establish its original location, interaction and relationship to the failure rather than assuming causation.