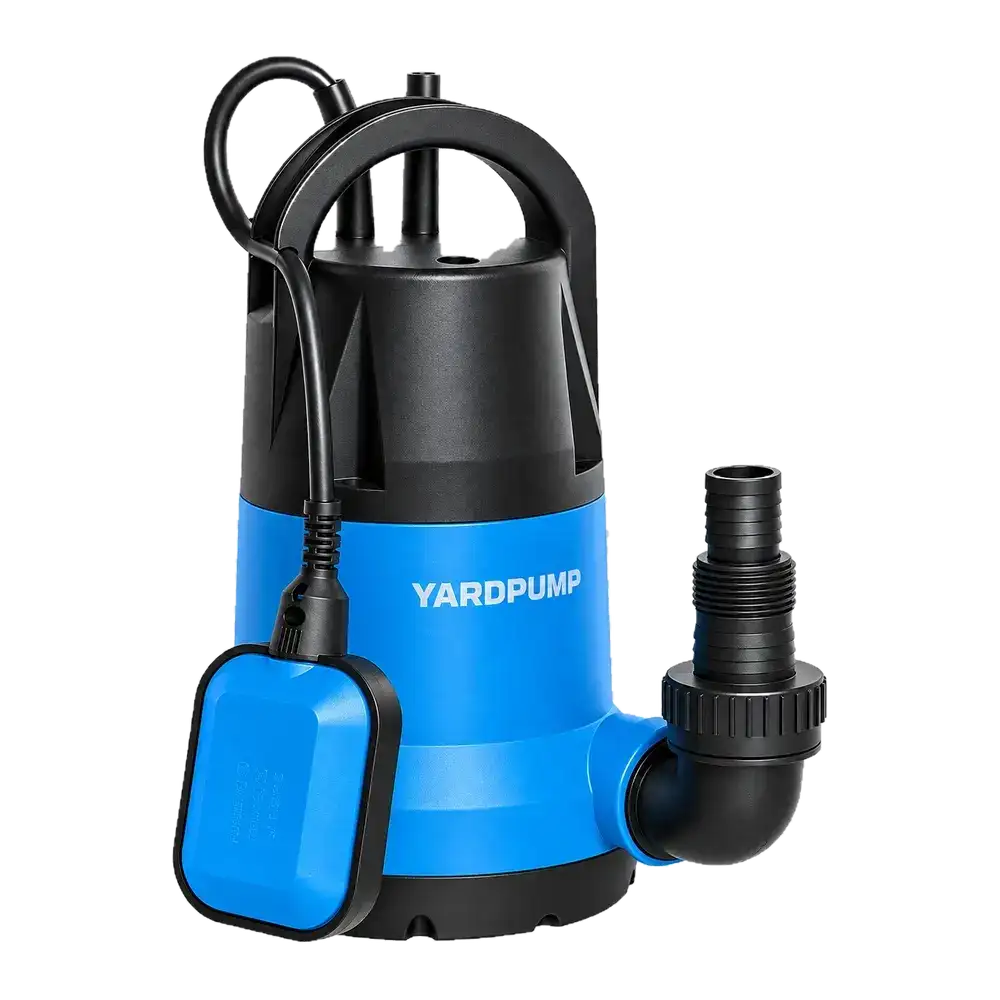
A technician opens the oil chamber of a returned submersible pump, sees whitish oil and immediately records an outer mechanical-seal failure. In this illustrative situation, more evidence is needed. Water mixed into oil can create a milky appearance, while aeration and other contamination can also change its appearance. The condition deserves investigation, but colour alone does not identify an entry path. First confirm that the particular pump actually has an oil chamber.
Separate the fluid condition from the leak path
Water, foam, particles and sampling conditions can produce different forms of cloudiness. A sample taken immediately after operation may look different after standing. Observing a clean sample container over time can provide supporting information, but clearing does not prove complete absence of water. Persistent cloudiness does not identify a particular seal either.
Record observations separately from conclusions: sampling time, appearance, visible layers or particles, and the analysis selected next. A quick customer answer should not turn an unconfirmed mechanism into an established finding. If the wrong interface is blamed, replacing the outer seal may leave the actual route untouched. The service report should show what is known and what remains to be established.
Identify the original oil and the sample
Confirm the approved oil for the model, the filling record and the lubricant batch. Oils can differ in additives, original appearance and response to water. A different new oil is not necessarily a valid visual baseline. Dirty containers, residual water, cleaning fluid or an unsuitable sampling process can also contaminate the sample being assessed.
Competent personnel should sample only after electrical isolation, appropriate cooling and the necessary precautions for pressure and stored energy. Users should not smell, taste or heat the oil to diagnose water contamination. A hotplate or flame-based crackle demonstration is not an appropriate downstream troubleshooting instruction. Collect and dispose of the fluid under the applicable arrangements rather than releasing it into the water.
| Evidence | What it can answer | What remains unresolved |
|---|---|---|
| Initial appearance and changes on standing | Cloudiness, layering or visible foam | Water quantity and origin |
| Approved fresh oil and batch identity | Whether the baseline is appropriate | Actual filling and service history |
| Suitable lubricant analysis | Water or contamination under the selected method | The route into the assembly |
| Interface examination and verification | Evidence at particular sealing interfaces | Coverage of actual operating conditions |
Confirming water does not locate its entry
Follow the actual section drawing. Depending on the arrangement, the investigation may include shaft seals, static seals, joints and other interfaces communicating with the chamber. Preserve dismantling evidence, corrosion distribution and the condition of adjacent spaces. Damage found after opening also needs to be distinguished from damage created during dismantling.
A static leak check and an operating test cover different conditions. A joint that is tight while stationary at room temperature may behave differently with rotation, temperature changes or differential pressure. Technical personnel should select checks appropriate to the approved construction. Applying an unverified pressure merely to obtain a quick result can create additional damage and obscure the original cause.
Consider a clearly hypothetical sequence: replacement oil initially looks clear, but becomes cloudy again after comparable operation. That finding supports further investigation. It does not prove that the new oil is defective or that the previously replaced seal has failed. Compare sample conditions, oil identity and assembly findings instead of repeatedly changing fluid until the appearance temporarily improves.
Close the repair beyond an oil change
Once the cause is established, use the model's approved oil, filling quantity and assembly procedure. More oil is not automatically better. Changing viscosity, adding a stop-leak product or mixing unknown lubricants can introduce new problems. Complete the relevant sealing, electrical and operating checks after the repair and retain the record.
A distributor can explain that an abnormal oil condition has been observed and that water content and the entry path are being checked. Pair that explanation with appropriate removal from service and competent inspection. This gives the customer a concrete action without prematurely promising that replacement of one component will resolve the fault.
Frequently asked questions
Does milky oil prove a large quantity of water?
No. Appearance cannot quantify the amount. Check aeration, oil identity and sampling conditions, then select appropriate analysis when needed.
Has the fault been fixed if replacement oil looks clear?
Not necessarily. Fresh oil changes the appearance; the entry route and affected interfaces still require investigation and relevant verification.
Can every submersible pump use the same oil-chamber diagnosis?
No. Establish whether the chamber exists, its construction, the approved oil and the inspection requirements before applying this approach.